
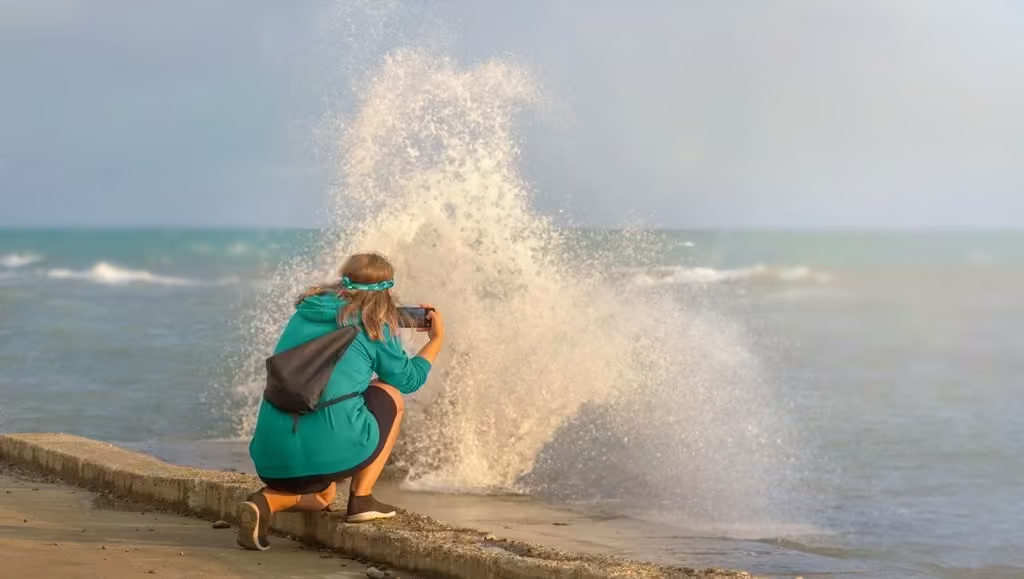
Basic Camera Preparation
Before heading out for a road trip, it’s essential to ensure your smartphone camera is well-prepared to capture every moment. Here are three fundamental steps to get your camera ready:
Clean Your Smartphone Lens
Your smartphone lens can quickly collect dirt and smudges, which can blur your photos. Use a microfiber cloth to gently clean the lens before each shoot. This simple step can significantly improve the clarity and quality of your images.
Check Your Phone’s Storage Space
Running out of storage space can be frustrating, especially when you’re in the middle of capturing a beautiful scene. Make sure to check your phone’s storage status and clear unnecessary files and apps beforehand. This will ensure you have enough space for plenty of high-quality photos and videos.
Ensure Your Battery is Fully Charged
A low battery can cut your photography session short. Ensure your phone’s battery is fully charged before you set out. It’s also a good idea to bring a portable charger or power bank, so you’re ready for a full day of photo-taking.
With your camera well-prepped, you’ll be ready to dive into exploring all the features available on your phone, enabling you to take stunning photos throughout your journey.
Understanding Your Camera Settings
Familiarize Yourself with Manual Controls
Getting to grips with your smartphone camera’s manual controls can significantly enhance your photos. Adjusting the ISO allows you to manage your camera’s sensitivity to light. Lower ISO values are perfect for bright conditions, while higher values are better in low light. Shutter speed, indicated by fractions such as 1/500 or 1/30, controls the time your camera’s shutter remains open. Faster shutter speeds capture quick actions without blur, while slower speeds can create motion blur, which is artistic in some situations. Exposure refers to the amount of light that hits your camera’s sensor when a photo is taken. Balancing these settings helps you capture well-lit and sharp pictures.
Learn How to Quickly Access HDR Mode
High Dynamic Range (HDR) mode is a feature that combines multiple exposures to create one detailed image. This mode is beneficial for scenes with a significant range of light, from bright skies to dark shadows. Learning how to quickly access HDR mode on your phone ensures you can make the most of it when faced with challenging lighting conditions. Typically, you can find this option in your camera’s settings or on-screen shortcuts. Experiment with HDR to see how it can enhance your pictures.
Know How to Lock Focus and Exposure for Challenging Shots
Locking focus and exposure can save you in tricky lighting or complex scenes. Most smartphones allow you to tap and hold on your subject until you see the indicator that focus and exposure are locked. This feature is handy for maintaining sharpness and consistent brightness on your main subject, even if your frame changes. When photographing dynamic scenes or moving subjects, this technique can help keep your images sharp and correctly exposed.
With a clear understanding of your camera settings, you’re one step closer to capturing fantastic photos on your road trip!
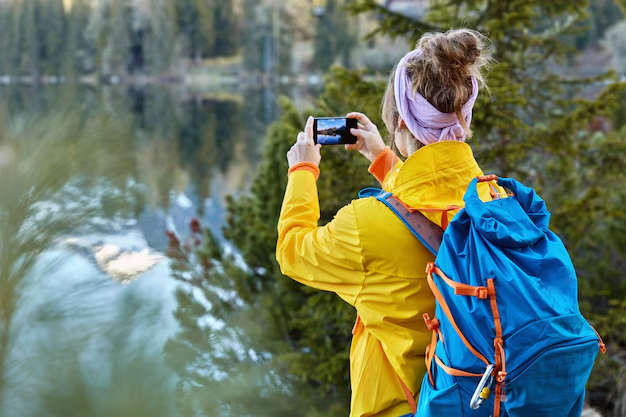
Composition Techniques
Capturing stunning photos during your road trip involves more than just pressing the shutter button; it’s about composing your shots thoughtfully. Here are some essential techniques to enhance your images:
Apply the Rule of Thirds
The rule of thirds is a classic composition technique that can instantly make your photos more balanced. Imagine your photo divided into a grid of nine equal parts using two equally spaced horizontal lines and two equally spaced vertical lines. Place important elements along these lines or at their intersections. This creates a more appealing layout and draws the viewer’s eye to key parts of the image.
Use Leading Lines
Leading lines are elements such as roads, rivers, or pathways that naturally guide the viewer’s eye through the photo. Incorporate these lines to create a sense of depth and direct attention towards the main subject. Whether it’s a winding road or a series of fence posts, leading lines can add a dynamic element to your shots.
Frame Your Shots
Utilize natural elements to frame your subject and add layers to your composition. Trees, archways, and windows can serve as natural frames, drawing attention to the focal point of your photo while adding context and depth. This technique not only highlights the subject but also makes the photo more engaging.
Focusing on these composition techniques will enhance your ability to capture compelling and visually satisfying images on your road trip.
Lighting Considerations
When capturing those unforgettable moments on a road trip, lighting plays a crucial role in the quality and mood of your photos. Here are some essential tips to help you master lighting with your smartphone camera:
Take Advantage of Golden Hour Lighting
The golden hour, shortly after sunrise and before sunset, bathes your shots in a warm, soft light that enhances colors and reduces harsh shadows. This time of day is ideal for showcasing your surroundings in a flattering, enchanting glow.
Avoid Shooting Directly Into the Sun
Positioning the sun behind your subject can lead to unflattering silhouettes and lens flare. Instead, try to keep the sun at your back or just off-center to evenly illuminate your scene. This approach helps maintain vibrant colors and clear details in your photos.
Use Natural Shadows to Add Depth
Natural shadows can add layers and dimensions to your images. Look for opportunities where shadows from trees, buildings, or other elements create interesting patterns and depth. Experiment with these shadows to add a dramatic, artistic touch to your shots.
By paying attention to how you use lighting, you can significantly enhance the overall quality and appeal of your road trip photos. Remember, the right light can turn a good photo into a fantastic one.
Motion and Stability
Stabilize Your Smartphone
One of the essential techniques for capturing sharp, clear photos is to stabilize your smartphone. Using both hands to hold your phone ensures minimal shake and produces better results. You can support one hand with the other or use a grip that keeps your phone steady. Practicing this method becomes especially crucial in low-light conditions where longer exposure times can exaggerate any movement.
Avoid Digital Zoom
Digital zoom on your smartphone camera can quickly degrade the quality of your photos. Instead of zooming in digitally and risking pixelated images, try to move closer to your subject. This approach maintains the clarity and detail of your shots, giving you better results overall.
Consider a Small Tripod
For even more stability, especially in low-light situations, consider using a small tripod. These compact and easily portable devices can make a significant difference in the quality of your photos. A tripod allows you to keep your smartphone immobile, facilitating longer exposure times without resulting in blurry images. Tripods are also excellent for capturing time-lapse videos or night shots.
With these techniques in your toolkit, you’ll be well-equipped to take stable, sharp, and vibrant photographs.
Special Features and Modes
Panorama Mode
Experimenting with panorama mode on your road trip provides a great way to capture vast landscapes that standard photos can’t do justice. Panoramas stitch together multiple images into one wide-angle shot, giving viewers a more comprehensive view of scenes like mountains, city skylines, and sunrises over the ocean. For best results, keep your phone level and move it slowly from one side to the other to avoid distortions.
Burst Mode
When capturing action shots, burst mode is your best friend. This mode takes several photos in rapid succession, ensuring you don’t miss a moment of the action. Whether it’s kids playing at the park or a cyclist zooming by, burst mode helps you catch the perfect frame. Remember, you can always delete the extra shots later and keep only the best ones.
Portrait Mode
For stunning subject isolation, try using portrait mode. This feature blurs the background to make your subject stand out, creating a professional-quality image. It’s perfect for capturing people, pets, or even flowers against scenic backdrops. Adjust the depth effect to customize how much blur you want and focus the attention exactly where you intend.
Using these special features and modes can elevate your road trip photography, making your memories as vivid and dynamic as the journey itself. Embrace these tools and watch your snapshots transform into captivating images, preserving your adventures in remarkable detail.
Post-Processing Tips
Learn Basic Editing Tools
After capturing the perfect shots on your road trip, the post-processing phase allows you to enhance and refine your images. Start by familiarizing yourself with the basic editing tools available in your phone’s native app. Key adjustments include:
- Brightness and Contrast: Fine-tune these to make your photos pop.
- Saturation and Warmth: Adjust for richer colors and more or less warmth.
- Cropping and Straightening: Frame your shots perfectly and correct any tilting.
Keep Adjustments Subtle
While it might be tempting to go overboard with edits, subtlety is key. Over-editing can result in unnatural-looking images. Aim to:
- Enhance but not overwhelm; small tweaks can make a big difference.
- Maintain the authenticity of the scene; preserve the natural feel of your moments.
Regular Cloud Backups
Remember to back up your edited and original photos regularly. This ensures that you won’t lose your precious memories due to phone issues or accidents. Utilize cloud storage services for seamless backups and easy access:
- Automatic Sync: Set up your device to auto-sync with cloud storage.
- Regular Checks: Ensure backups are current and complete.
Your efforts in post-processing can significantly elevate your road trip imagery, helping preserve and share your journey with greater impact.
Safety and Practical Considerations
Never Photograph While Driving
This one should go without saying, but it’s too important to skip: never photograph while driving. It’s incredibly dangerous and distracts you from the road. If you see a sight worth capturing, pull over safely before snapping your shot. It ensures you stay safe and get the perfect angle without risking anyone’s life.
Be Aware of Your Surroundings
While trying to get that perfect shot, it’s easy to become so focused that you ignore your surroundings. Before you start clicking away, take a moment to assess the area. Are you stepping into traffic? Is there a steep drop-off? Little things like this can not only save your life but also protect you from accidents. Remember, no photo is worth risking your safety.
Respect Private Property and Local Photography Rules
Respecting boundaries is essential. Before photographing in certain locations, make sure you are not intruding on private property. Always look for any signs indicating prohibited photography areas. Additionally, local laws might forbid photography in certain places. Ignoring these rules can lead to unwanted confrontations or legal troubles, which can quickly ruin your trip.
Staying mindful and respectful while photographing keeps your road trip enjoyable and stress-free. Happy shooting!
______



