
Understanding Weather Challenges in Bird Photography
Impact of Different Weather Conditions on Bird Photography
Weather can dramatically affect bird photography, altering everything from lighting to bird behavior. Here’s what you need to know about how different conditions can be both challenging and rewarding:
Sunny Days: Clear skies mean good lighting and fast shutter speeds, but harsh direct light can cause strong shadows and overexposed highlights. Birds may also be more active during these times.
Cloudy Days: Overcast conditions offer diffused lighting, reducing shadows and making for more even exposure. Birds are often more noticeable against the softer, neutral backgrounds. However, lower light levels can demand higher ISO settings.
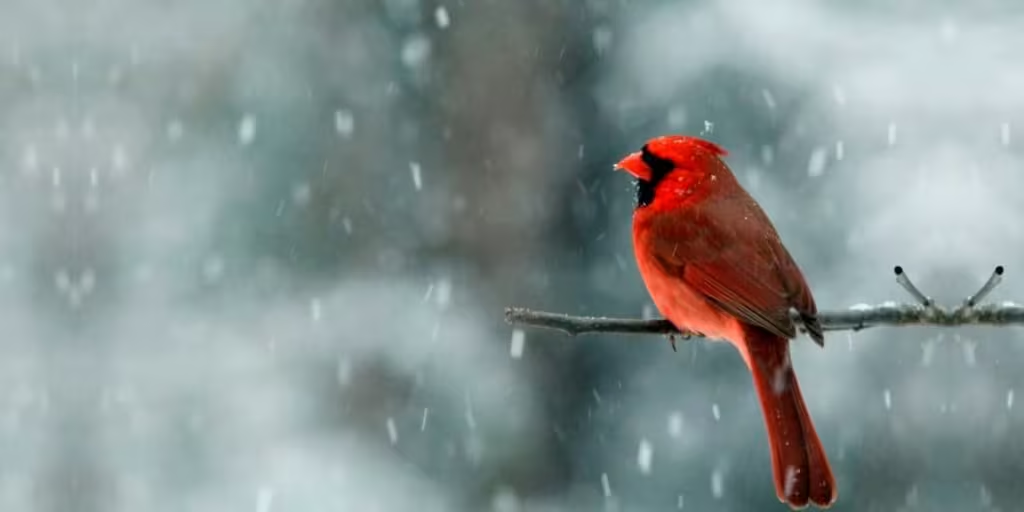
Rainy Weather: Photographing birds in the rain can add mood and drama to your shots. However, water droplets on your lens and decreased light levels can be challenging. Birds tend to be less active, often sheltering, but patience can lead to unique shots.
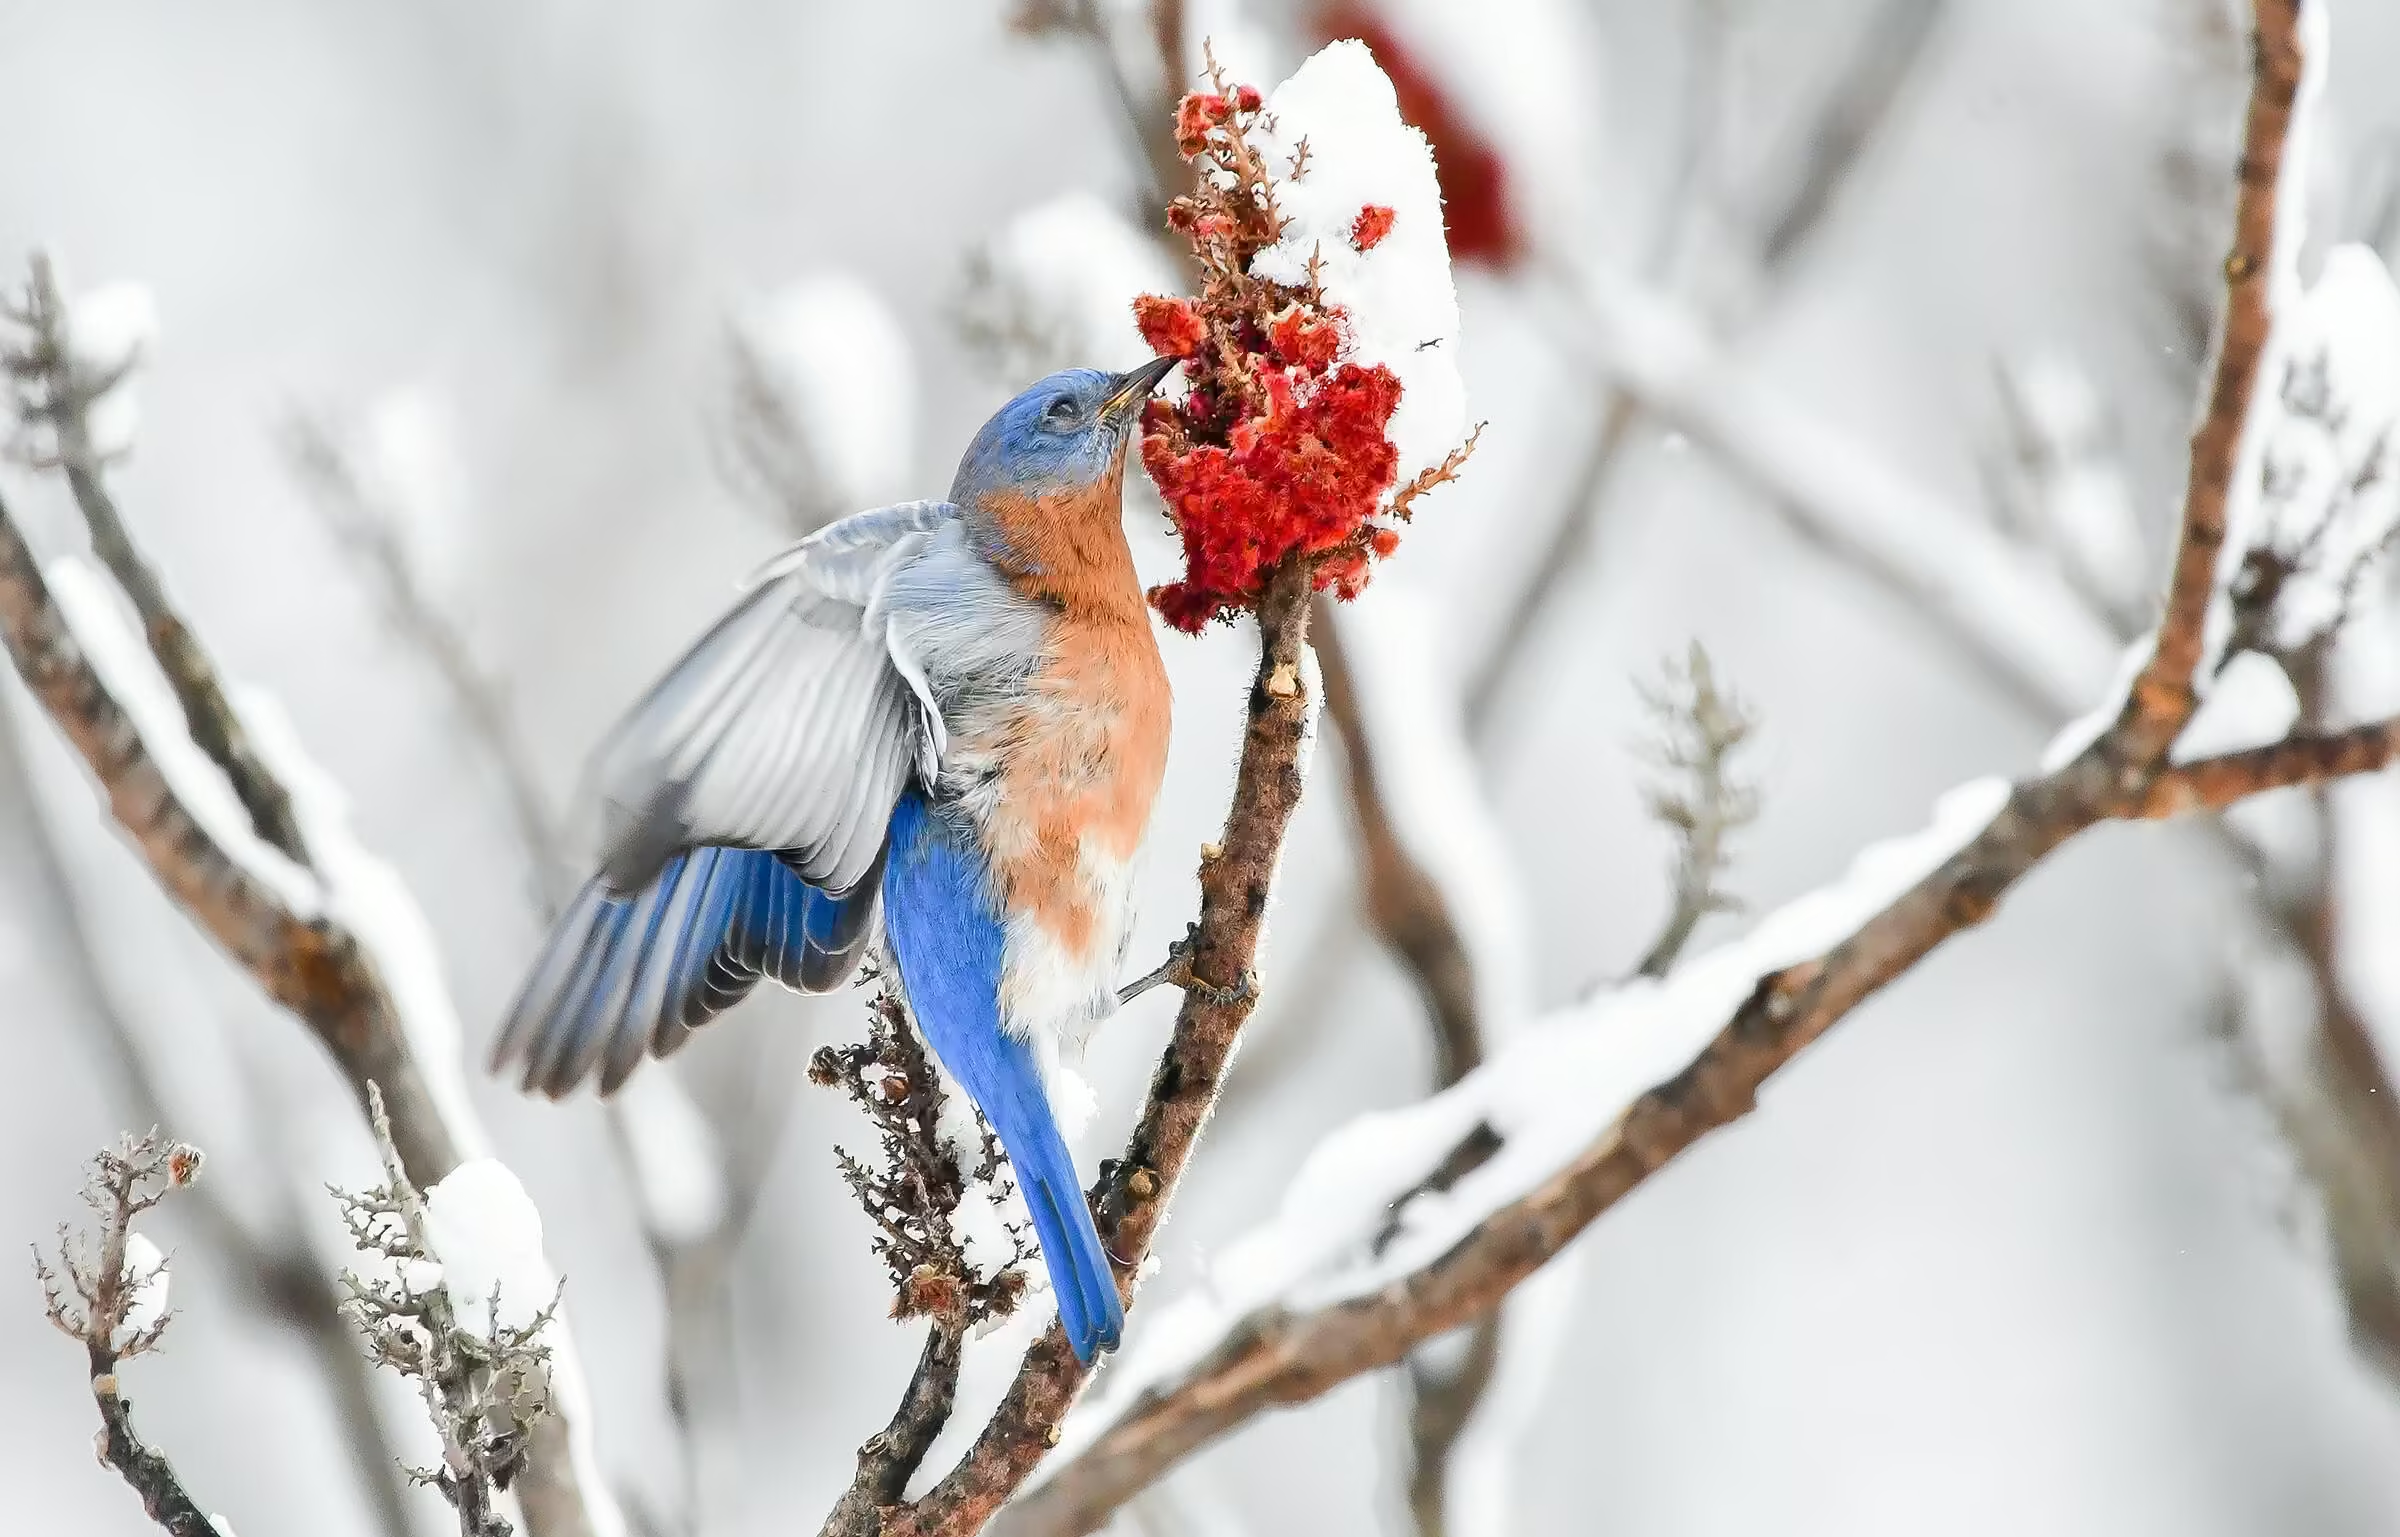
Snowy Conditions: Snow can create beautiful, serene backgrounds and reflect light in a flattering way, but it also means dealing with cold temperatures that can affect your gear and battery life. Birds in snow-covered landscapes also provide fantastic contrast.
Adapting Camera Settings for Various Weather Scenarios
Adapting your camera settings is crucial for capturing high-quality images in different weather conditions. Here are some tips to fine-tune your settings:
Sunny Days: Use lower ISO settings to prevent overexposure and faster shutter speeds to freeze bird motion. Adjust your aperture to control depth of field based on the background complexity.
Cloudy Days: Increase ISO to maintain a higher shutter speed to capture sharp images despite the lower light. A wider aperture can help, but be mindful of the depth of field, especially if the bird is surrounded by a complex background.
Rainy Weather: Use a higher ISO to compensate for low light conditions. Adjust your white balance to counteract the cool tones cast by clouds and rain. A high-quality lens hood can help to shield rain drops from hitting your lens.
Snowy Conditions: Increase exposure compensation to avoid the snow appearing grey due to the camera’s auto exposure settings. Ensure your ISO setting is balanced to manage the white, bright environment without introducing too much noise.
Essential Gear for Weather Protection
Proper weather gear is essential for photographers to protect their equipment and themselves. Here’s a rundown of essential items:
Waterproof camera cases or rain covers: These protect your gear from wet conditions, allowing you to shoot in the rain without damaging your equipment.
Lens hoods: These help shield your lens from rain and snow while also reducing lens flare on sunny days.
Weather-sealed lenses: Investing in weather-resistant lenses means fewer worries about moisture and dust affecting your gear.
Protective clothing for the photographer: Always dress appropriately with waterproof jackets, boots, and gloves to stay comfortable and dry.
Lens cleaning kits: These are crucial for removing water droplets, dust, and other debris from your lens and camera.
Extra batteries: Cold weather can quickly deplete battery life, so carry spares to ensure you don’t miss the perfect shot.
Successfully capturing birds in different weather conditions requires flexibility and preparation. By understanding the challenges and making the necessary adjustments, you can turn even the most unpredictable weather into an opportunity for stunning photographs.
Mastering Focus Techniques
Benefits of Using Minimal Focus Points for Bird Photography
Using minimal focus points helps you achieve more precise focus, particularly when photographing fast-moving birds. When fewer focus points are activated, the camera is less likely to get confused by surrounding elements and can lock onto the bird more reliably. This technique allows you to capture those key moments with sharp clarity, reducing the chances of having out-of-focus shots.
Selecting Optimal Focus Points Based on Bird Behavior and Position
Understanding bird behavior and positioning sets you up for success in choosing the right focus points. For sedentary birds like owls and herons, it’s often best to use a single central focus point. This will allow you to precisely lock onto the bird’s eye or head. For birds in flight or fast-moving subjects, using a cluster of focus points in the area where the bird is most likely to move can help maintain sharp focus on your subject.
Techniques for Maintaining Sharp Focus in Challenging Conditions
Maintaining sharp focus in various challenging conditions requires you to adapt quickly:
- Low Light: In low light conditions, use a larger aperture to let in more light and keep your ISO high to maintain a faster shutter speed.
- Rain: Rain can cause autofocus to hunt. Switching to manual focus can give you more control in these situations.
- Dense Foliage: When shooting through foliage, use a single focus point and manually override if needed to prevent the camera from focusing on the leaves instead of the bird.
By mastering these techniques, you’ll enhance your bird photography even in the most challenging conditions, ensuring your captures are crisp and detailed.
Optimizing ISO Settings
Relationship Between ISO Settings and Background Complexity
ISO settings play a crucial role in balancing the brightness and noise of your bird photographs. The higher the ISO, the more sensitive your camera becomes to light, but this can also introduce more graininess into the image. This relationship particularly impacts the complexity of the background. A complex background with lots of details and textures can mask some noise at higher ISO levels, making it less noticeable. However, a simple or smooth background can make any graininess or noise much more apparent. To achieve the best results, always aim for the lowest ISO setting that provides the necessary light sensitivity.
Strategies for Maintaining Low ISO While Preserving Image Quality
Maintaining a low ISO is key to preserving the highest image quality with minimal noise. Here are some strategies:
- Use a Tripod: Stabilizing your camera allows you to use slower shutter speeds without introducing motion blur, enabling you to keep the ISO lower.
- Open the Aperture: A larger aperture (smaller f-number) allows more light to hit the sensor, reducing the need for higher ISO.
- Adjust Exposure Compensation: Tweaking exposure compensation can help fine-tune the light entering your camera, sometimes allowing for a lower ISO setting.
- Utilize Natural Light: Shoot during periods with ample natural light, such as early morning or late afternoon during golden hours.
Balancing ISO with Shutter Speed Requirements
Shutter speed and ISO must work hand-in-hand to capture birds, which are often fast-moving subjects. A faster shutter speed is needed to freeze action, but that usually requires higher ISO to compensate for decreased light capture. Here’s how to find the right balance:
- Evaluate Bird Behavior: If the bird is in motion, you need a faster shutter speed. Accept the compromise of a slightly higher ISO to maintain sharpness.
- Test Settings: Practice adjusting the ISO and shutter speed to see which combinations produce the least noise while capturing the necessary details.
- Use Image Stabilization: Leveraging your camera’s or lens’s stabilization features can permit slower shutter speeds, thus avoiding excessively high ISO settings.
With these techniques, you’ll be able to master the balance between ISO settings and shutter speed, ensuring high-quality, sharp, and detailed bird photography in diverse conditions.
Golden Hours: Morning vs Afternoon Light
Characteristics of Early Morning Light for Bird Photography
Early morning light, often termed as the ‘golden hour,’ offers softly diffused light that casts long shadows and imparts a gentle glow to your bird subjects. This time of day provides a cool, pastel color palette, making it ideal for capturing birds with vibrant, natural hues. Early morning light generally has less harsh contrast, which helps in accentuating the details and textures of feathers without overwhelming brightness. Moreover, birds are often more active in the early hours, increasing your chances of witnessing dynamic behavior and interaction.
Late Afternoon Lighting Techniques and Opportunities
Late afternoon, the counterpart to the morning golden hour, brings warmer and richer tones. The sunlight at this time creates a warm, golden hue that adds a rich, atmospheric quality to your images. As the sun begins its descent, it creates opportunities for backlit images where the translucent feathers can glow impressively. Highlighting the edges of the bird’s form, afternoon light can create a stunning, dramatic effect. Additionally, the warm tones enhance the surrounding landscape, contributing to more engaging and cohesive compositions.
Adjusting Composition Based on Natural Light Direction
To maximize the benefits of natural golden light, it’s crucial to adjust your composition according to the direction of light:
- Front Lighting: Position the sun behind you, allowing the bird to be fully illuminated. This technique is excellent for revealing intricate feather details and colors.
- Side Lighting: This approach produces more dimensional images by casting shadows that emphasize the bird’s form and texture.
- Back Lighting: Experimenting with back lighting can be challenging yet rewarding. Position the bird between you and the sun to achieve a dramatic silhouette or enhance the translucence of feathers.
Maximizing natural light not only improves the overall quality of your images but also reduces the need for higher ISO settings, helping in producing sharper and more detailed photographs.
Anticipating the golden-hour shifts and adjusting your techniques accordingly empowers you to capture stunning bird images in varying lighting conditions seamlessly.
Composition Techniques for the Catskills
Incorporating Natural Landscape Elements into Bird Compositions
The Catskills offer a breathtaking backdrop for bird photography, with lush forests, flowing rivers, and towering mountains. To make your bird photos stand out, incorporate these natural elements into your compositions:
- Foreground foliage: Use trees, flowers, or grasses to frame the bird, adding depth and context to the image.
- Water elements: Reflective surfaces like rivers or lakes can create mesmerizing effects and draw focus to your subject.
- Mountain Hinterland: Position the bird against the dramatic mountain scenery to convey a sense of scale and grandeur.
Leveraging Seasonal Changes for Unique Compositional Opportunities
Each season in the Catskills brings its own set of visual opportunities:
- Spring and Summer: Capture vibrant blooms and lush greenery that add pops of color and layers of texture to your shots.
- Fall: The rich, warm hues of autumn foliage provide a stunning contrast against your feathered subjects.
- Winter: Use the stark, snowy landscape to highlight birds, making them stand out even more against the white backdrop.
By timing your photography sessions to coincide with these seasonal changes, you can diversify your portfolio and capture the essence of the Catskills throughout the year.
Balancing Subject and Background Elements in Mountain Settings
Achieving a harmonious balance between your bird subject and the surrounding background can elevate your compositions:
- Rule of Thirds: Position your bird off-center, aligning it along one of the grid lines to create a dynamic and balanced photo.
- Depth of Field: Use a wide aperture to blur the background, making the bird pop. Alternatively, in wide shots, use a narrower aperture to keep both the bird and landscape in focus.
- Natural Lines and Curves: Look for natural lines, like tree branches or winding rivers, that guide the viewer’s eye towards the bird.
With these techniques, your bird photos in the Catskills will not only showcase the beauty of the birds but also highlight the stunning landscapes they inhabit.
Next, we’ll explore advanced post-processing techniques to enhance your weather-affected bird images while maintaining their natural charm.
Advanced Post-Processing for Bird Photography
Enhancing Weather-Affected Images in Post-Processing
Weather conditions can greatly affect the quality of your bird photographs. Whether dealing with rain, fog, or harsh sunlight, post-processing can help enhance your images.
Start by adjusting the exposure to compensate for dark or overexposed areas. In software like Adobe Lightroom, you can use the Exposure and Shadows sliders to brighten dark sections without losing detail. Utilize the Dehaze tool to add clarity to foggy or misty images. This tool increases contrast and detail, making the subject stand out more distinctly.
Techniques for Maintaining Natural Look While Improving Image Quality
When enhancing your photos, it’s crucial to preserve the natural look of your bird and surroundings. Over-editing can lead to unrealistic images. To avoid this, make subtle adjustments. Begin with the White Balance to correct any color casts caused by unusual lighting conditions. Fine-tuning HSL (Hue, Saturation, and Luminance) settings can help you maintain a natural color palette.
Sharpening is another key aspect, especially for bringing out the intricate feather details. Use selective sharpening to emphasize the bird rather than the entire image, ensuring the background remains smooth and noise-free. Remember, less is often more when it comes to editing.
Selective Adjustments for Highlighting Bird Features
Selective adjustments allow you to spotlight your subject without altering the entire scene. Tools like Radial Filters and Brushes in Lightroom can help you apply targeted edits. For instance, you can increase the exposure and clarity on the bird’s eye to draw attention, crucial for making the image impactful.
Further, adjusting the highlights and shadows around the bird can make it pop, enhancing its three-dimensionality without making the image look unnatural. Always review your edits at 100% zoom to ensure that your adjustments are precise and do not introduce artifacts.
Now that you have these advanced techniques under your belt, sharing the magnificent beauty of the Catskills with your audience becomes even more enjoyable. Take these tips out into the field and combine your growing skills with mother nature’s unpredictable conditions. Happy shooting!



